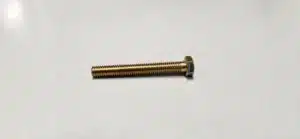
Screws are ubiquitous in our everyday lives, used in everything from assembling furniture to constructing complex, heavy-duty machinery. If you’ve ever wondered how these essential fasteners are made, we’re here to give you an inside peek.
How Is a Screw Made? 3 General Manufacturing Methods
Before delving into a real-world screw manufacturing example, let’s first review the three most common overarching methods of manufacturing screws: cold forming, hot forging, and machining.
- Cold forming (also known as cold heading) is the process of shaping a screw without heating the steel. This is achieved by impacting or pressing the material within a mold.
- Hot forging is the process of heating up the steel to a temperature where it becomes pliable and then shaping it using a die.
- Machining is the process of removing steel to achieve the desired screw dimensions.
Each of these methods comes with its own set of advantages and disadvantages, making one more appropriate for a specific application than the others. For instance, at Wilson-Garner, we often opt for cold forming because it works exceptionally well with materials like alloy and carbon steel, enhancing their strength through a phenomenon known as “work hardening.”
Read more about general screw manufacturing methods here.
The Screw Manufacturing Process: Step-by-Step with Photos
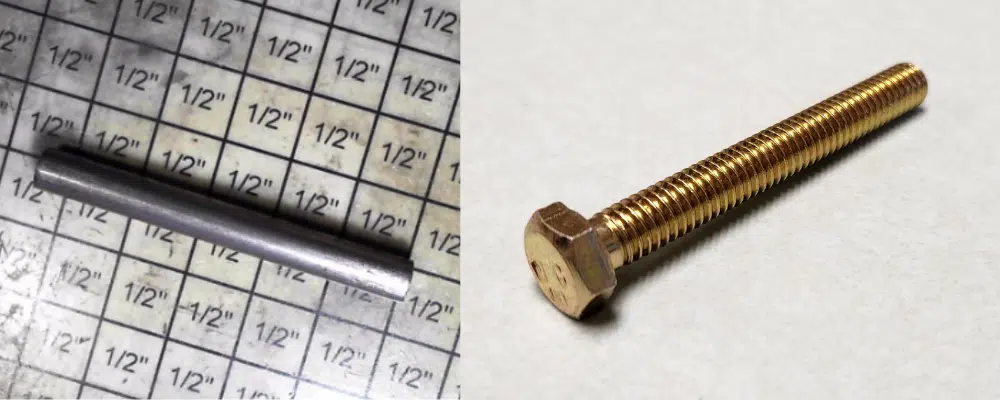
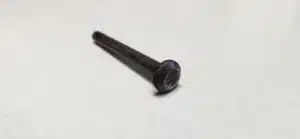
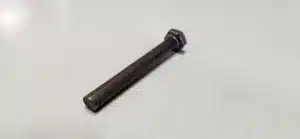
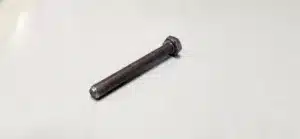
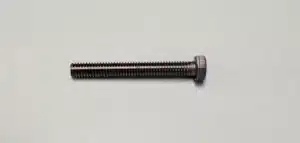
Now let’s look at one of these screw manufacturing processes in action. This is a cold-formed screw we recently manufactured here at Wilson-Garner. It’s made of alloy steel.
Here are the 10 steps we take to manufacture this part, along with pictures throughout the process. Please note that this is just one part, and since we manufacture per-spec fasteners, the manufacturing process for other screws may vary.
1. Cutoff
Our team takes a bar of alloy steel and cuts it to length.
2. Slug with Coating
We call the cutoff material a slug. For this part, we needed a coating to provide lubrication so that it would be easier to cold form.
3. Upset
This is our first hit. We strike the slug within a large press to enlarge one end of the screw, where the head will be.
4. Heading
This is our second hit, which is also done within the press. The screw’s head is fully formed in this stage.
5. Trimming
This is our third hit, which is done in a trimming press. It trims the head to its specified shape.
6. Pointing
This is our fourth and final hit, which puts a point at the end of the screw opposite from the head. As you can see, it’s technically not a true point but an angle.
7. Thread Rolling
Next, we roll the screw’s threads using a Reed roller. While some fastener manufacturers cut threads, we’re fans of rolling. We find the results to be more accurate and durable.
8. Quality Assurance – Part 1
Once threads are rolled, the screw is near complete — we call it “dimensionally done.” However, it still needs to pass some inspections and be finished.
For our first stage of QA, we ensure all the screw dimensions are within tolerance.
9. Finishing
Once the screw passes the first round of QA, we send it off to a partner for zinc electroplating. We don’t do in-house finishing or plating.
10. Quality Assurance – Part 2
When we get the screw back, we’ll do a second round of QA to ensure the part conforms to all requirements (dimensions, material, hardness, coating thickness, etc.). If there are any nicks or burrs on the threads that were added in the plating process, we re-roll the threads one more time to ensure the parts gauge properly.
After that, the screw is complete and ready to ship!
Request a Custom Screw Quote
Ready for us to make some custom screws of your own? We’re happy to help. Our production and QA processes ensure you get the per-spec part you need the very first time.
Give us a call or request a quote online here.
